Configure an Auto-Invite Rule
After adding a mail-enabled security group as shown previously, admins can configure an 'Auto Invite' rule from Microsoft's Exchange admin center. Configuring an Exchange rule from Microsoft 360 admin center involves defining specific conditions, including the message being a calendar event and containing the text 'Microsoft Teams meeting' for Teams meetings or 'Zoom meeting' for Zoom meetings.
|
➢
|
To configure the 'Auto Invite' rule: |
|
1.
|
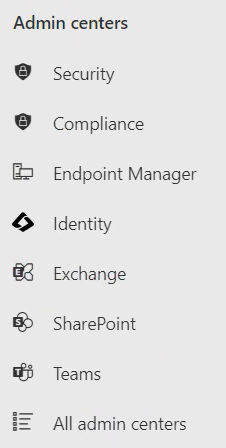
From the list of admin centers displayed in Microsoft 365 admin center (in which you added a mail-enabled security group), click Exchange. |
|
2.
|
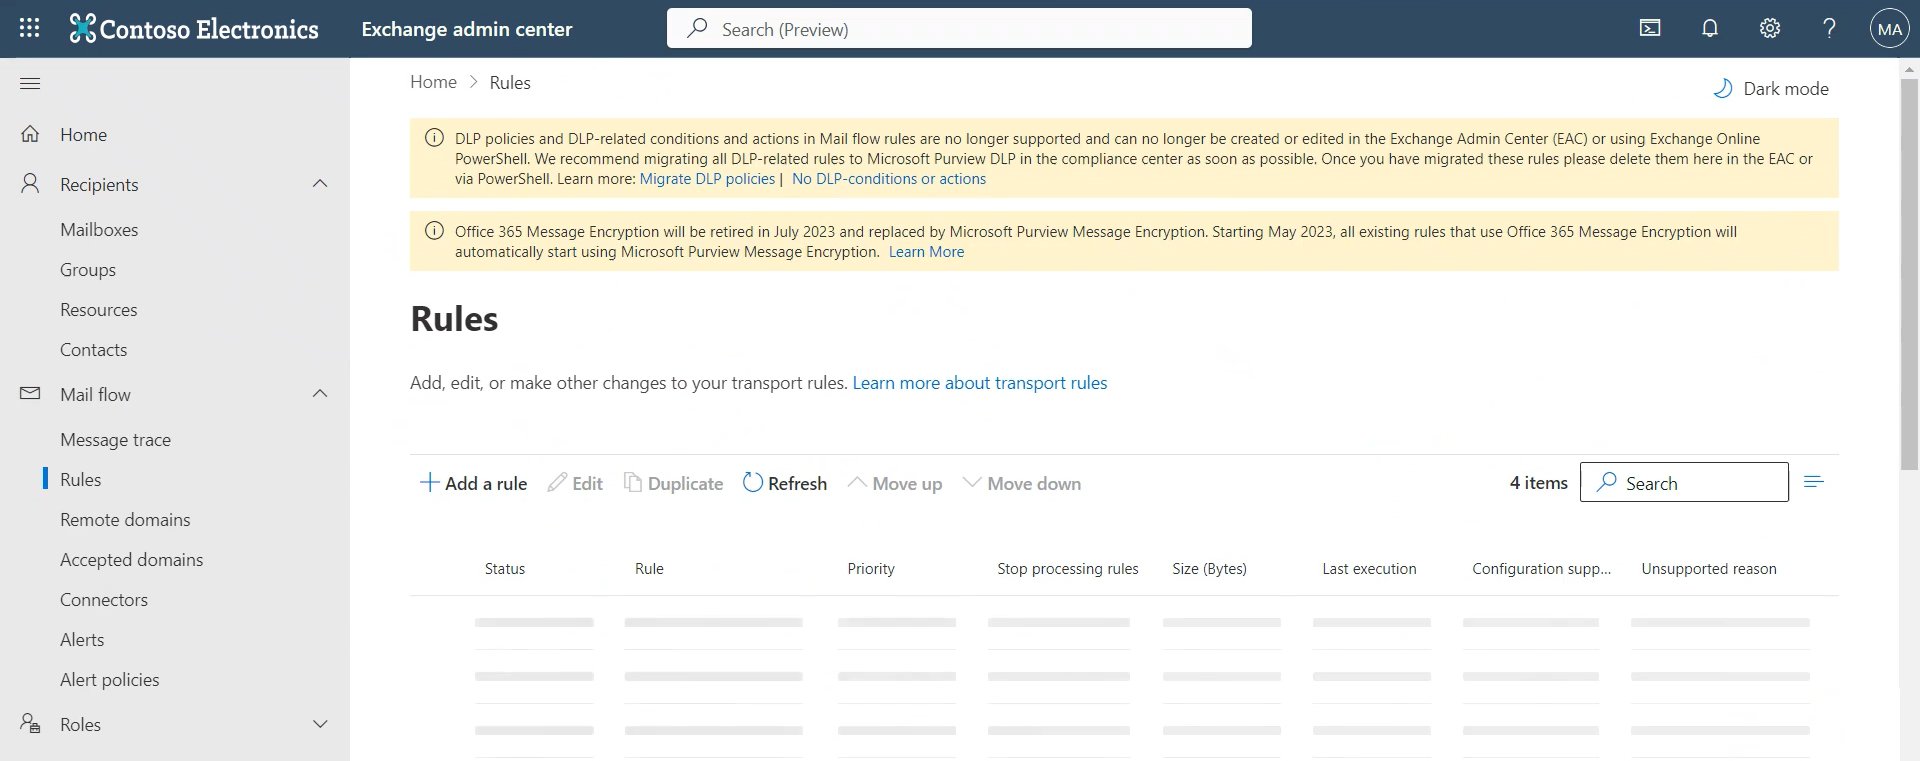
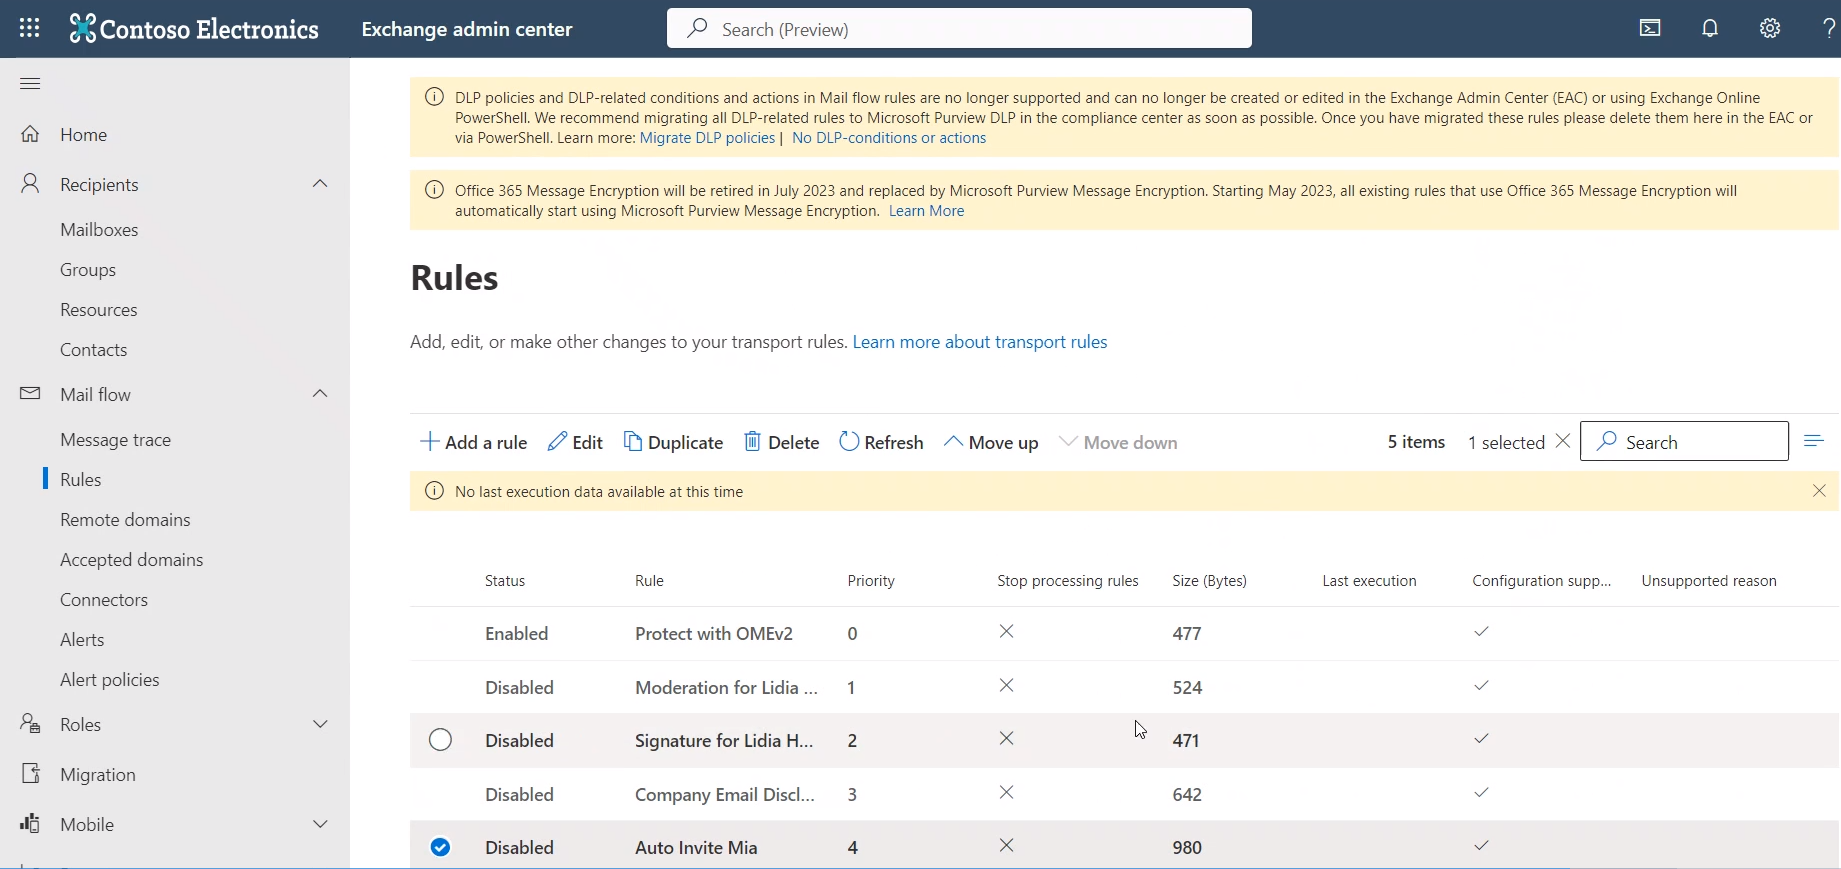
In Exchange admin center, navigate to Mail flow > Rules. |
|
3.
|
In the Rules page, click + Add a rule. |
|
4.
|
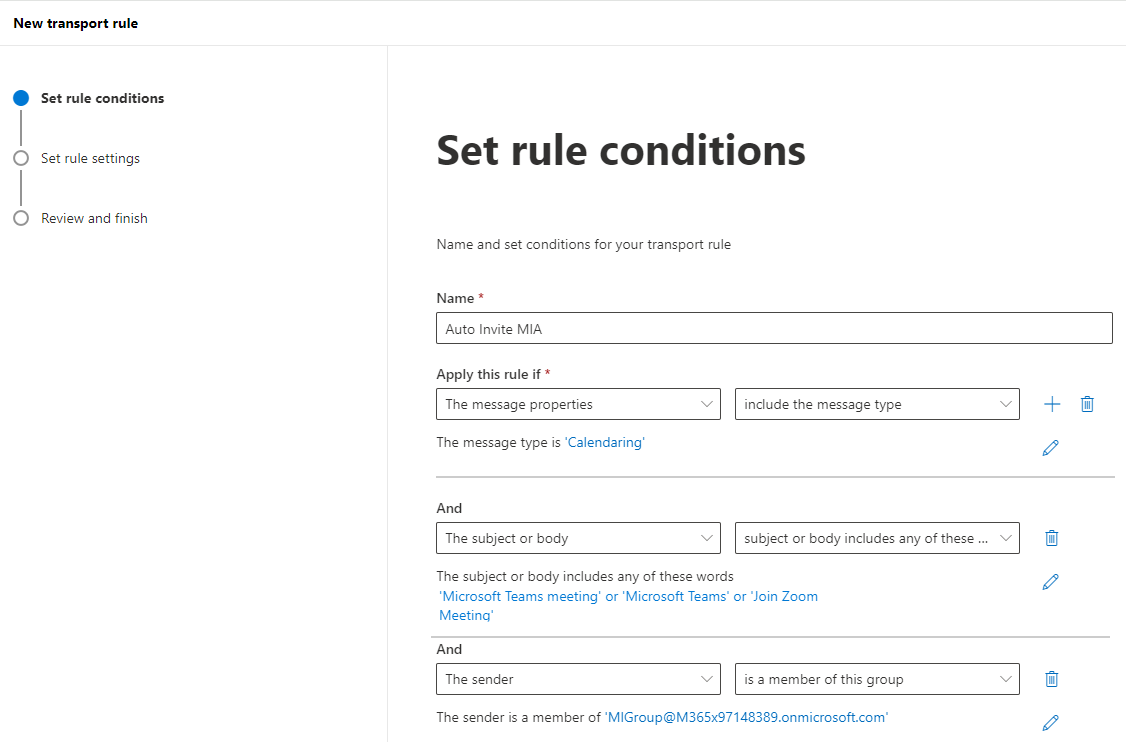
Set the following rule conditions using the figure above as reference: |
|
a.
|
Set a name for the rule, for example, Auto Invite Mia. |
|
b.
|
From the two Apply this rule if drop-downs, select The message properties and include the message type respectively. Select Calendaring as the message type. |
|
c.
|
Click +. From the two And drop-downs, select The subject or body and subject or body includes any of these words respectively. Enter Microsoft Teams meeting , Microsoft Teams, or Join Zoom Meeting as the words. |
|
d.
|
Click +. From the two And drop-downs, select The sender and is a member of this group respectively. Select the group you created in the previous procedure. In the figure above, it is MIGroup@M365x97148389.onmicrosoft.com |
|
5.
|
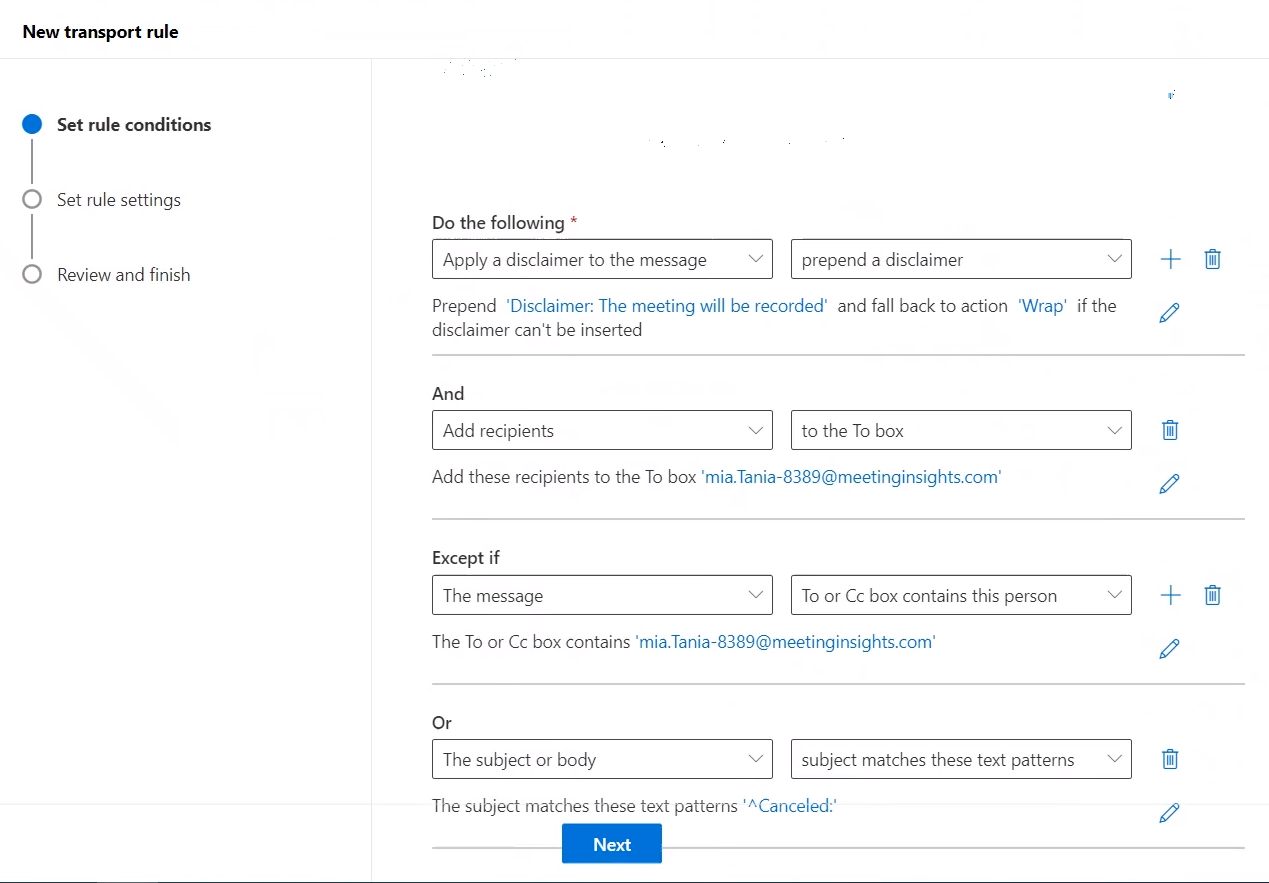
Scroll down and continue setting the rule conditions using the figure below as reference: |
|
a.
|
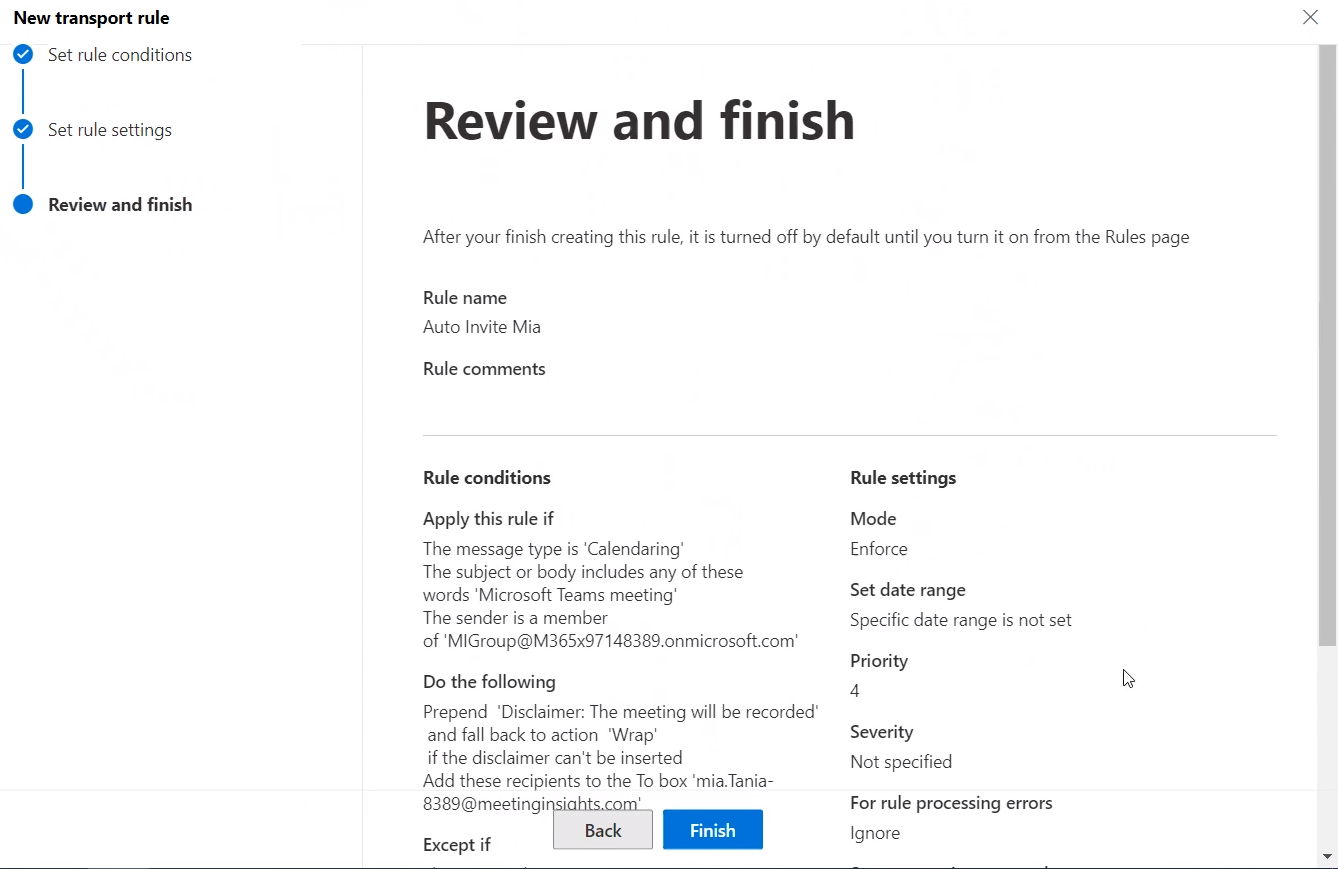
From the two Do the following drop-downs, select Apply a disclaimer to the message and prepend a disclaimer respectively. |
|
i.
|
For the disclaimer, define any disclaimer your organization requires, for example: 'Disclaimer: The meeting will be recorded'. |
|
ii.
|
Select 'Wrap' as the action to fall back to if the disclaimer can't be inserted. |
|
b.
|
Click +. From the two And drop-downs, select Add recipients and to the To box respectively. Define the To box email. |
|
c.
|
From the two Except if drop-downs, select The message and To or Cc box contains this person respectively. Define the person's email address. |
|
d.
|
From the two Or drop-downs, select The subject or body and subject matches these text patterns respectively. Define the text pattern ^Canceled: |
|
7.
|
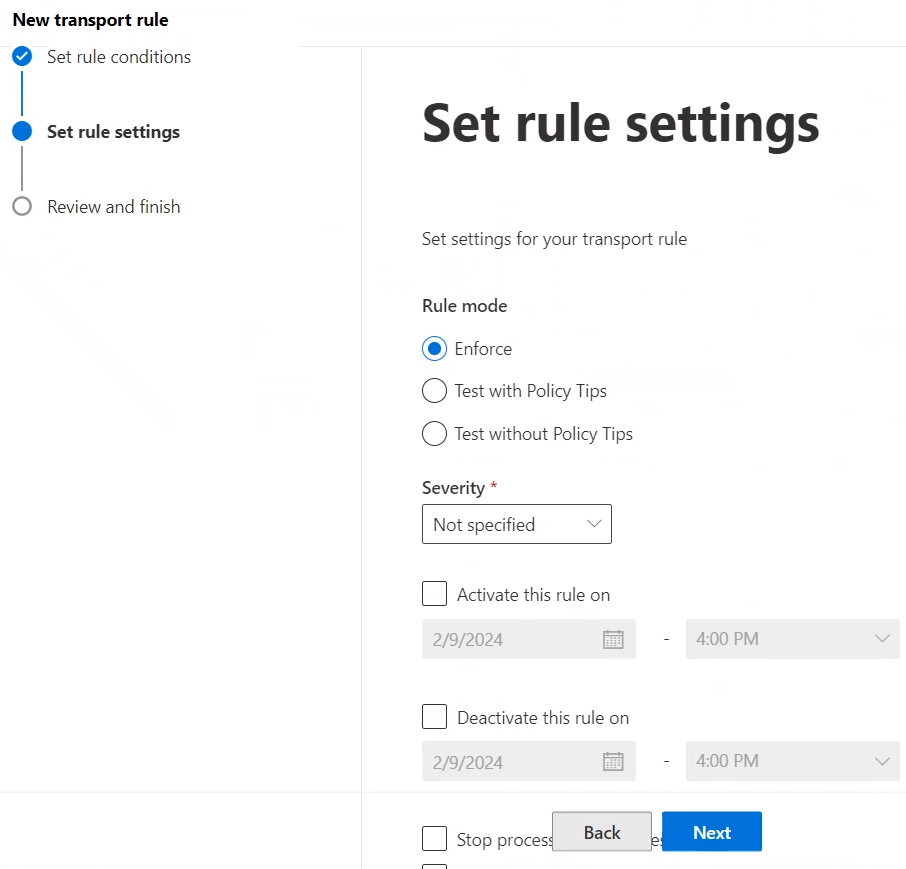
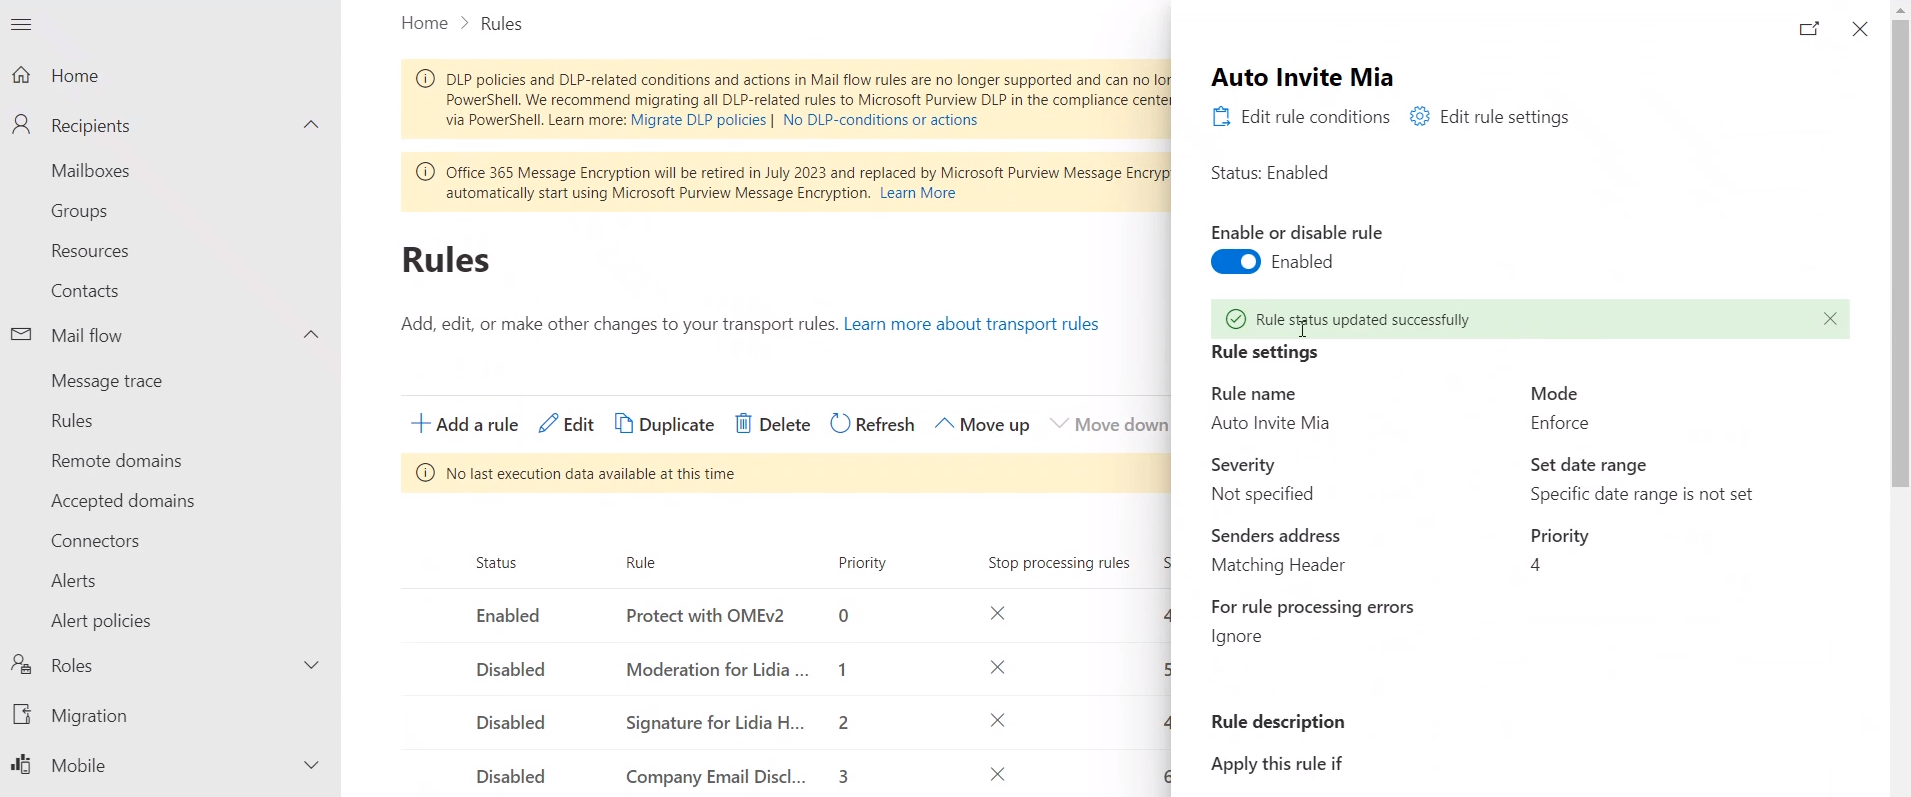
Set the rule settings as follows: |
|
a.
|
Leave 'Rule mode' at its default Enforce. |
|
b.
|
For the 'Severity' level drop-down, optionally leave this filter at Not specified or set it according to your organizational requirements (to make the reports easier to use). |
|
c.
|
Select 'Activate this rule on' and set it to take effect immediately. |
|
d.
|
From the 'Match sender address in message' drop-down, select Header. |
|
9.
|
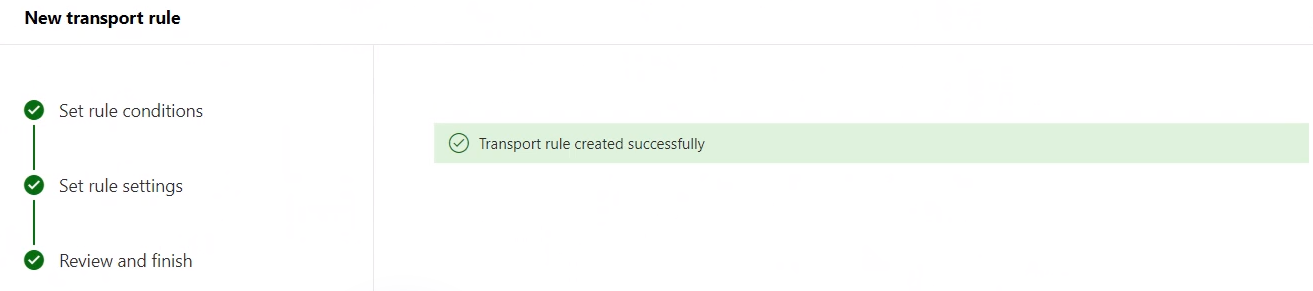
Make sure all settings are configured as described until now, and then click Finish. |
|
10.
|
Make sure the newly configured rule ('Auto Invite Mia' in the example below) is listed in Exchange admin center. |
It's recommended to enable MIA automatic invite for all users by default. Users who don't want to record a meeting can either pause the recording or remove MIA participants from the meeting.
Next: Test the rule as shown here.